Hi everyone! I've had some requests for a tutorial on some of my latest flowers,That I used on my 'Lean on Me' l/o, so I thought I would get on it! First off, I want to say that these are not a "Bonnie original", and the idea for part of the flowers came for a good friend of mine from Swirlydoos by the name of Lisa Gregory. You can find her here. She does amazing work and loves to share her ideas with everyone!

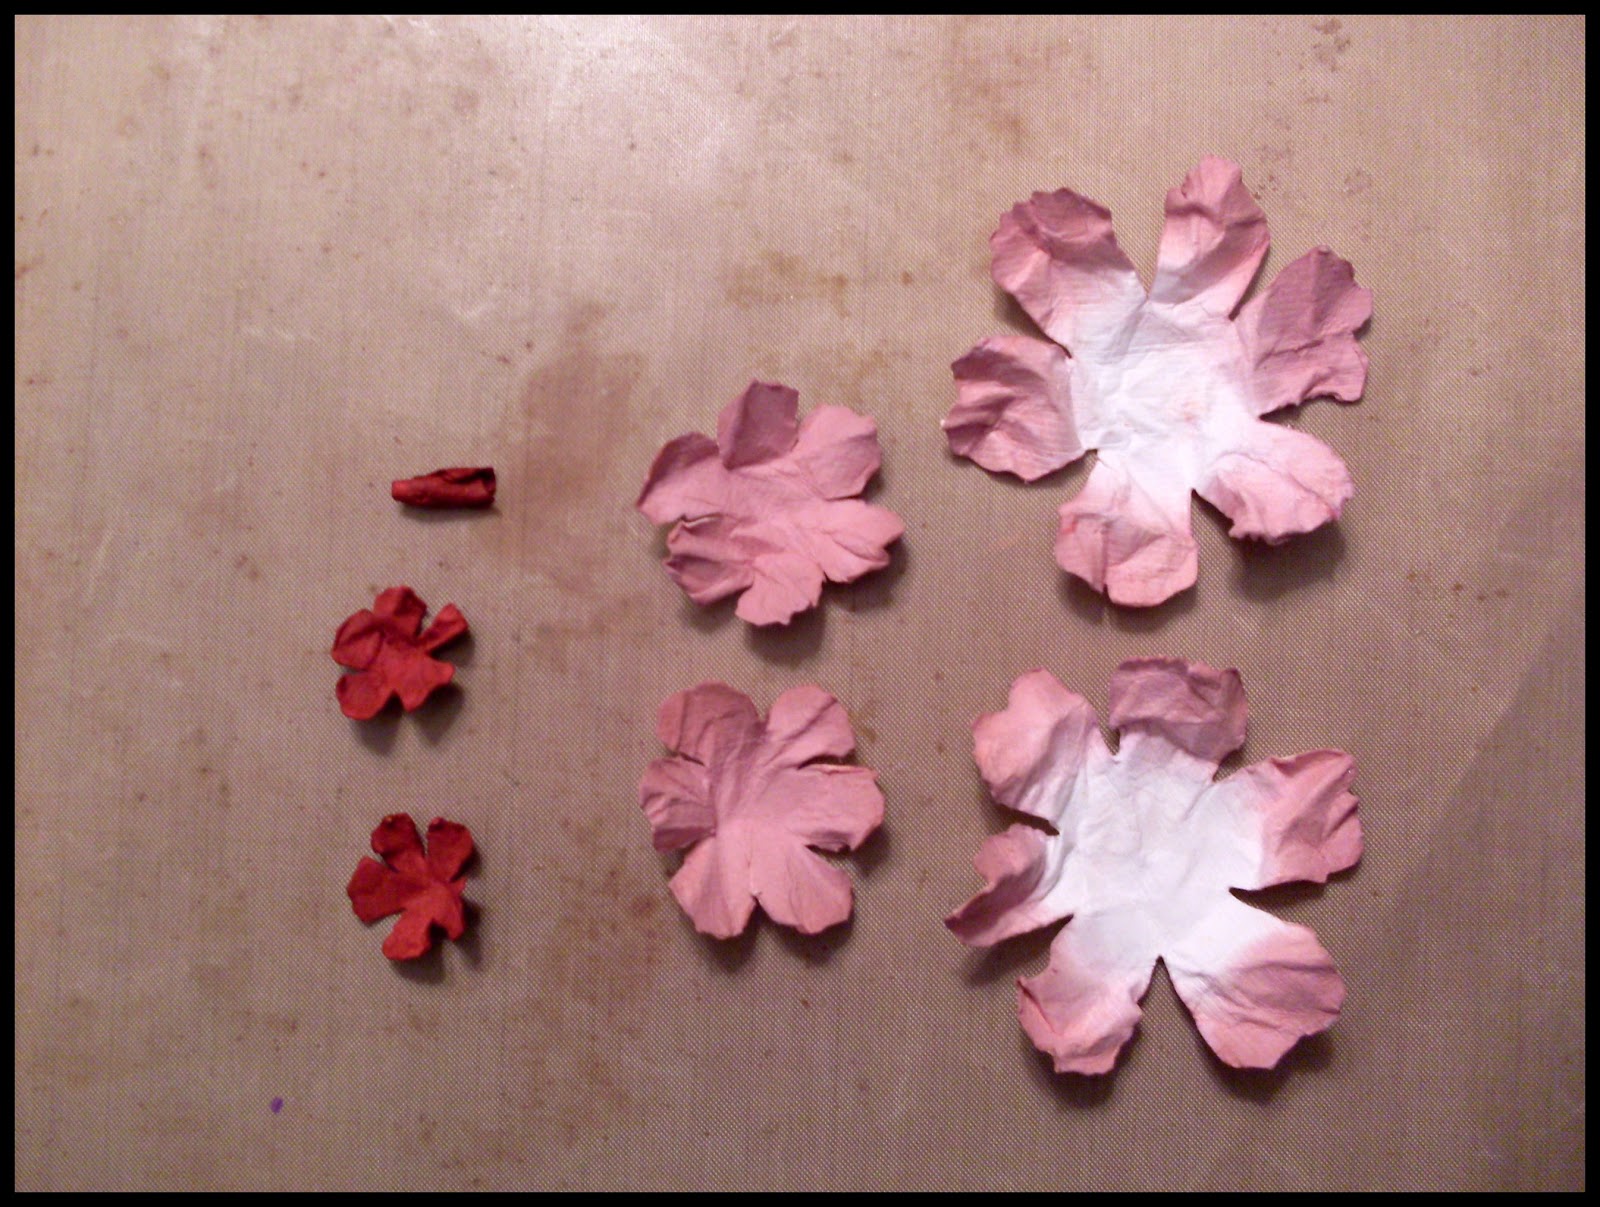
Here are the tools that I used, and can be substituted. I used the Tim Holtz Tattered Floral Die, and cut 2 of large and medium, 3 for of the small, leaving out the flower with the long slender petals. I used 2 colors of distress ink in the same color family, a blending tool, water, Zipdry glue and Tulip Puffy paint in white. You also need a heat gun. You could use glimmer mist in place of the ink and water.

I inked the larger petals along the outer edges, the medium petals totally with the same color. For the 3 small petals I used a darker color. The aim is to go from darker to light from the center out.

Next I spritzed the petals generously with water, as I am using a thicker cardstock. The water softens the paper and makes the ink bleed for a softer look, but you must be gentle as the paper can rip.

Now I gently crumple up the petals and give them a bit of a twist, and hit them a bit with my heat gun.
Gently open the petals, leaving one closed up of the small ones, as this will be the center bud. Take your heat gun and dry the petals. Air drying works too, I'm just to impatient to see the results!

I like to assemble the flowers in separate layers ones they are dry, according to size. Make sure you stagger the petals, and use your glue to glue them together.

Here is a close up of what the center flower looks like. I put some glue in the folds of the center bud, and once it dries I snip the bottom off so it doesn't sit too tall. Again, stagger the petals as you glue them together.

Now comes the fun part that sets these flowers apart! You need white puffy paint and carefully put it along the edges of the petals

When that part is done the flower will look like this. Let it dry for 10-15 minutes and then take your heat gun or blow dryer [haven't tried this] and heat up the flower.

This is what the finished product looks like after its puffed up and the edges have been hit with a bit of ink! I just LOVE this technique!

Here are a few more flowers that I've done with this technique. You imagination is your only limit on what you can do!
I hope you have enjoyed this tutorial and that you find a passion for making these flowers the way I have! Thanks for looking!
I really like your blog and the tutorial, awesome and its just that you really inspires me. Thanks for sharing.
ReplyDeleteohmygoodness those are beautful!
ReplyDeletebut i dont have a diecutting machine for those flowers. any idea where i could find precut flowers like that?
Gorgeous Bonnie, absolutely gorgeous!
ReplyDeleteGorgeous page and beautiful flowers! I never would have guessed that you inked them! And I love the puffy paint idea... Thanks for sharing :)
ReplyDeleteWow, that's amazing!
ReplyDeleteThank you for this tutorial. It is very very pretty.
ReplyDeleteWow this is absolutely stunning!!! I am your newest stalker LOL! Thank you so much for sharing these. My blog is http://365daysofcricut.blogspot.com/
ReplyDeletesandra
These look great Bonnie...thanks for sharing the tutorial.
ReplyDeleteBeautiful flowers, thanks for the tips
ReplyDeleteBeautiful flowers, thanks for the tips
ReplyDelete