Monday, October 31, 2011
Face lift
I know, its about time, isn't it? I've been visiting so many blogs that have been up lifted with a new look that I decided to take the plunge and give mine a new look. Not exactly sure if it will be staying like this, but for now it will do! What do you think?

Friday, October 28, 2011
Lil Cowgirl ~Stuck on U Sketches!~
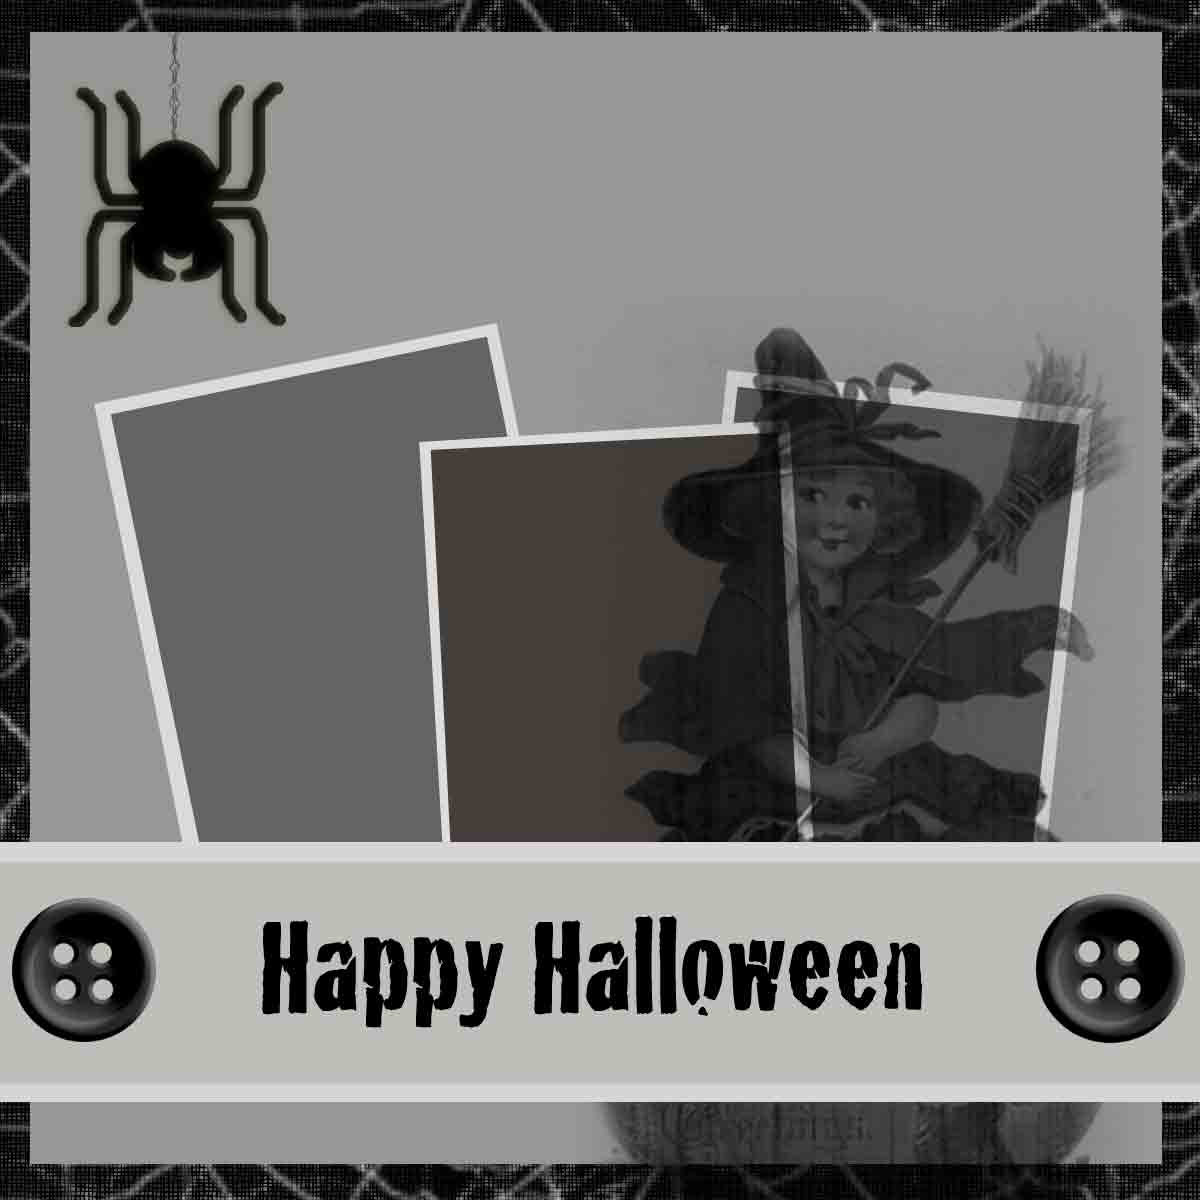
Its Friday once again, and better yet, its Reveal Friday over at Stuck on U Sketches! I always get excited when it gets close to reveal day, as I just love sharing with everyone the great sketches we get the privilege to work with! I also love to share any new things and new ideas! This weeks sketch is brought to us again by our very own Leah! Being the time of year that it is, the sketch is based on Halloween, but it isn't a holiday that I celebrate so I decided to keep on my theme of my Great Nieces! (in case you were wondering)


Here is the sketch created by Leah.
 I was at a weekend crop this last weekend at Love is in the Details, my LSS, and Lori had put up a Dollar store for us, on location. She had some pretty sweet items there, and the white doily behind the butterfly is just one of them!

I used die cuts from Tim Holtz's Tatered Floral die and inked it with Weathered wood distress inks and put this flower together. I used a Dusty Attic doily and painted it with white distress crackle paint and inked the edges. This cool rusted birdhouse and flower button are just a couple more items I got from the LIITD's Dollar store!

I used Tim Holtz's barbed wire mask with distress ink and then outlined it with black and highlighted it with a white pen. I also water distressed the edges of the strip of paper that is horizontal.

I used my Heartfelt Creations Swirly leaves stamp set to create the leaves, which I then inked with various green distress inks, and distress stickles. Once it was dry [ yeah! for my heat gun!] I scrunched them a bit.

The pearl flourish I have cut up into 2 pieces and used on this layout are from Prima. I love the 2 toned colors and the glittered flowers on this flourish!
I hope you all have a great weekend and stay safe! Thanks for stopping in for a look see and please check out SOUS and see what the other designers have created for you. Don't forget to give the sketch a go and increase your chance of winning some awesome goodies!
NOTE: stay tuned for a future tutorial on the rusted butterflies I made for this layout!

I got some papers from Creative Imaginations, not really realizing they where a horse theme, and wasn't sure how I would use them. Then I came across this photo of GN Austin who is ga-ga over horses! Perfect match!! For a while I had wanted to use a photo and cut it up as I did above. I think it looks real neat. I used a Prima 12x12 mask with distress ink.


I used die cuts from Tim Holtz's Tatered Floral die and inked it with Weathered wood distress inks and put this flower together. I used a Dusty Attic doily and painted it with white distress crackle paint and inked the edges. This cool rusted birdhouse and flower button are just a couple more items I got from the LIITD's Dollar store!


I used my Heartfelt Creations Swirly leaves stamp set to create the leaves, which I then inked with various green distress inks, and distress stickles. Once it was dry [ yeah! for my heat gun!] I scrunched them a bit.

I hope you all have a great weekend and stay safe! Thanks for stopping in for a look see and please check out SOUS and see what the other designers have created for you. Don't forget to give the sketch a go and increase your chance of winning some awesome goodies!
NOTE: stay tuned for a future tutorial on the rusted butterflies I made for this layout!
Monday, October 17, 2011
Going Altered!
Hi everyone! For quite some time now I have been wanting to try my hand at altering an object. Over the past year or so I've picked up so object like this round box at our local thrift store. The time has come and this is my result!

I used papers from Websters pages that I got in a kit from My Creative Scrapbook quite some time ago. I thought since winter is coming *cough* I thought I'd do a wintery one. I like it that the colors aren't your typical wintery colors. I *think* the paper collection is called Winter Wings, or something similar.

I did some distressing to the box by swiping on some distress ink and dry brushing some white paint.


The little white roses with the blue edges are from I am Roses as well as the leaves.

I cut out and rolled up some Christmas music papers from Tim Holtz, and distressed them with ink, paint and then sprinkled Diamond Glitter on them. The pearl ribbon trim I purchased from Wal Mart and I glued it around the top of the lid and the bottom of the box.

Last but certainly NOT least, I use a whole lot of Helmar's 450 Quickdry adhesive to glue the embelishments and the ribbon on. I love getting my hands all gooey!
Now that I know that altering objects isn't as scary as I thought you will be seeing more from me! Thanks for looking and please leave a comment!
Friday, October 14, 2011
You belong..... Stuck on U Sketches
Are you ready for another fabulous Friday Sketch reveal from Stuck on U Sketches? Ready or not, here it comes! This is my take on the sketch, and it is titled "You belong among the Flowers", and it features my husbands parents. I have not been feeling well this week so my work may reflect that a bit. Sorry! I still hope you enjoy!

I used Bo Bunny's gorgeous Gabrielle line for this layout. I scalloped the edges of the base pattern paper and then backed it up with a black/brown cardstock. I also used my Martha Stewart Doily punch on the matted paper behind the photo.


This flower and the bling spray are both by Prima.


These flowers and leaves are from I am Roses. They were white and inked them slightly and then sprayed with with a pearl Glimmermist. The little fairy stick out of the top of the flowers is by Pink Paislee, and it popped it up with Helamars' Scrapdots!

This butterfly is a chippie from Dusty Attic, and I altered it with Distress stain, and Distress Stickles.

I distressed all the paper edges and inked them with Distress ink in Brown Corduroy. Thank you so much for stopping by and looking at my work! Please go to Stuck on U Sketches and check out the other designers work! I am sure you will be inspired as they never fail to deliver amazing work!
Tuesday, October 4, 2011
Sketch contest at My Creative Sketches!
Hello fellow bloggers and followers! Have you check out My Creative Scrapbooks new sketch blog? They are having a Fall sketch contest and they prizes are amazing! I know this from experience! Here is my take on the sketch.

This layout is of my daughter on her wedding day. Her now husband was her first and only boyfriend, High School Sweethearts to be exact. They dated for 6 yrs and Jerica waited so patiently [ ok, not always] for her wedding day. That is why I titled the layout "At Last". I used Webster's Pages 'Country Estate' paper collection. I loved they way they seemed to compliment the surrounding area of where this photo was taken.

This sketch was created by Kim Keane, and it was a very enjoyable sketch to work with.

I used Deco scissor to cut out the matting for the photo. I used some of the black paper that comes with the Dusty Attic pieces.... it all comes in handy! For the title I used puffed alphas from SEI. The color is called Blue Raspberry. I did lots of fussy cutting and lots and lots of layering !

I just totally love the Dusty Attic circle with the flourishes on it! I wanted this piece to go a long way, so I cut it in half, saving the rest for a different layout. I tried a new technique that I had seen on the DA message board. I soaked the edges of the flourish with water and separated the layers and then took my heat tool and dried it. I love that distressed look! I then used White Picked Fence Distress Crackle Paint by Ranger and gave the DA piece a good thick coat. Once that was dry I sprayed this as well with the Moon Shadow mist, and used some distress inks on it. I love the way it turned out!
I used some half pearls from Prima, [ I think!] pearl strings for the butterfly flight path that I got at my local thrift store. The punched butterfly is from Martha Stewart and I inked the edges and covered it with Rock Candy Crackle Paint. I also used the same crackle paint on some of the fussy cut flowers.


The little roses are from I am Roses, that I purchased in white, and then use Distress Inks to color them the color I wanted. The blue Bloomers are from Petaloo, and came in off white and are mistable. I used one of my blue Distress stains and dabbed it on. To lighten the color abit I sprayed it with water and then pressed paper towel on top to remove as much of the color I wanted to get it to look just like this!


Thank you for taking the time to look at my work and hopefully you enjoyed looking as much as I enjoyed creating! Don't for get to check out that contest at My Creative Sketches!
Subscribe to:
Comments (Atom)